


From Punched Cards to Prompts
AndroidIntroduction When computer programming was young, code was punched into cards. That is, holes were punched into a piece of cardboard in a format...
With KitKat, Google brought a number of welcome additions to Android. Today, we’ll focus on one of them, the android.transition framework.
Over the years, Android has gradually improved the animation tools available to developers. Property animations introduced in Honeycomb provide a fantastic API for creating rich and complex animations. In KitKat, android.transition builds on top of that and makes it possible to define animations in a more declarative manner.
It all starts with the notions of the scene and transitions. A scene defines a given state of the UI, whereas a transition defines the change from one scene to another.
One way to define a scene is by loading it from a layout file:
scene = Scene.getSceneForLayout(container, R.layout.example, context);
container is a ViewGroup that holds the views in the scene. In a fragment it would be the parameter passed into the onCreateView() method. The simplest way to perform a transition is to let the TransitionManager perform a default one:
TransitionManager.go(scene);
If a transition is not specified, the TransitionManager will use the AutoTransition, which we will talk about later. It is also possible to create scenes using the views that have already been inflated:
View view = inflater.inflate(R.layout.example, container, false);
Scene scene = new Scene(container, (ViewGroup)view);
Let’s look at this simple example in more detail. Start by downloading the code from our AndroidTransitionExample. Since this is a “finished” example, you can use git checkout to go to the specific points in this project’s evolution (this is explained in more detail below).
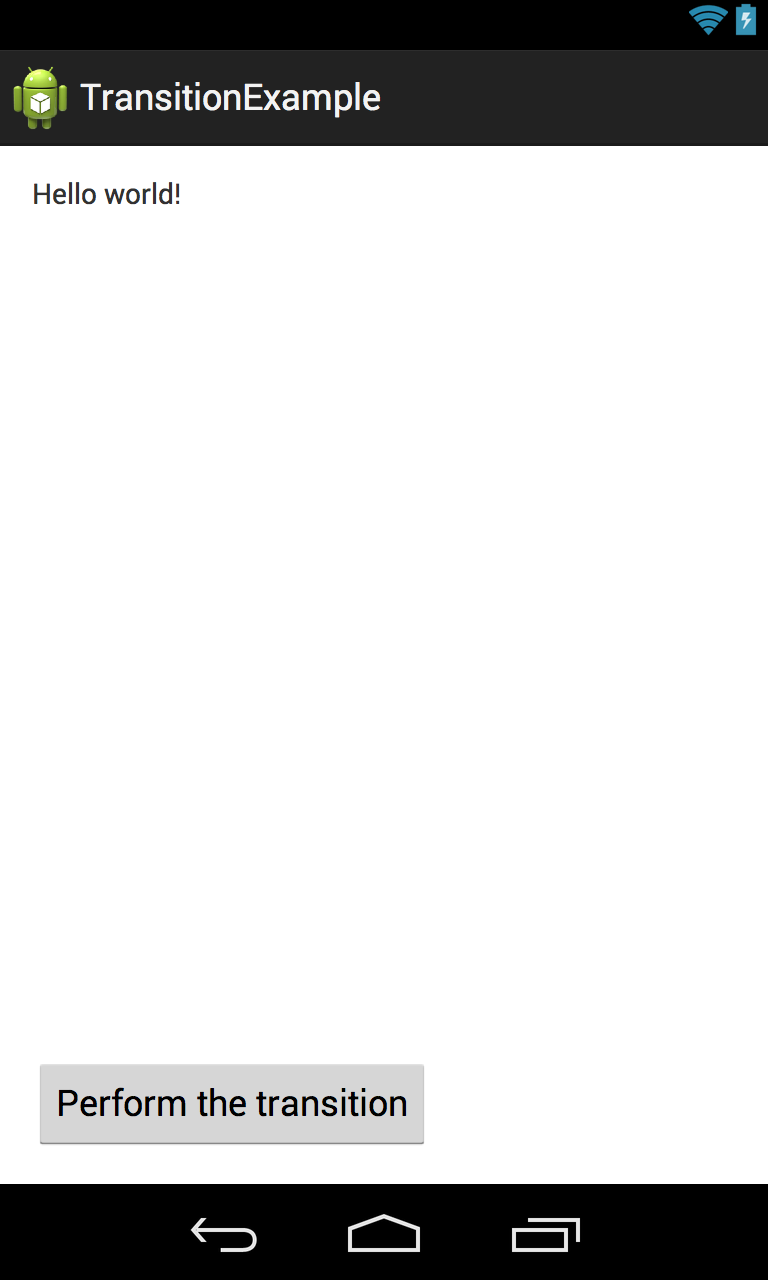
We begin by creating a simple single-fragment project. To make it easier to keep track of things, we named the TransitionFragment’s layout fragment_transition_scene_1.xml and just added a Button below the TextView.
fragment_transition_scene_1.xml
<RelativeLayout
    xmlns:android="http://schemas.android.com/apk/res/android"
    android:id="@+id/scene"
    android:layout_width="match_parent"
    android:layout_height="match_parent">
    <TextView
        android:id="@+id/textView"
        android:text="@string/hello_world"
        android:layout_width="wrap_content"
        android:layout_height="wrap_content" />
    <Button
        android:id="@+id/goButton"
        android:text="@string/button_go"
        android:layout_below="@id/textView"
        android:layout_width="wrap_content"
        android:layout_height="wrap_content" />
</RelativeLayout>
You can probably already guess that we’ll create another layout, and you’re right. fragment_transition_scene_2.xml is nearly identical, but we move the goButton to the bottom of the parent:
    ...
    <Button
        android:id="@+id/goButton"
        android:text="@string/button_go"
        <del>android:layout_below="@id/textView"</del>
        <ins>android:layout_alignParentBottom="true"</ins>
        android:layout_width="wrap_content"
        android:layout_height="wrap_content" />
    ...
These are the screenshots of the two layouts:

To see the effect of the transition, create the scene from the second layout file and perform the transition when the goButton is clicked. Let’s update the TransitionFragment.onCreateView() method.
@Override
public View onCreateView(LayoutInflater inflater,
        ViewGroup container, Bundle savedInstanceState) {
    View rootView = inflater.inflate(R.layout.fragment_transition_scene_1,
            container, false);
    final Scene scene = Scene.getSceneForLayout(container,
            R.layout.fragment_transition_scene_2, getActivity());
    Button goButton = (Button)rootView.findViewById(R.id.goButton);
    goButton.setOnClickListener(new View.OnClickListener() {
        @Override
        public void onClick(View v) {
            TransitionManager.go(scene);
        }
    });
    return rootView;
}
This is what happens when the button is clicked.

How does this work? Views that have the same id will be assumed to be the same view and will transition via changing bounds. In other words, the position and size of the views will be animated when going from one scene to the next. Note that the RelativeLayouts in the two layout files also have to have the same id.
If you are interested in trying out the example project, you can take advantage of git. Clone the project from AndroidTransitionExample. You could use a GUI git client to list the project history and to switch to a specific commit.
Alternatively, you could just use the command line. Open the terminal, cd into the project folder and run the following command:
git log --oneline
You will get the listing of the commits to this project, which will look like this:
cc40873 load the transition manager from the XML file
c2a25d4 inflate the transition from the XML file
9871bfa add the return transition
1de57f0 use AnticipateOvershootInterpolator
fbcc465 slow motion transitions
6ea37f7 extract method goToScene
34e0f8f restore transition by adding LinearLayout with id
2b000b3 example of change bounds not working when changing hierarchy
6b4629c example of transitioning from Button to ImageView
092ebe0 added layout_weight to button
1e7c5be modified layout for scene 2
d94b907 Android Studio updated IML files
24f9a74 Create README.md
0667c36 simple transition
4265f50 factor out TransitionFragment
280f123 initial commit
This point in the post corresponds to the “simple transition” commit. To set the project to this state, you can run this in the command line:
git checkout 0667c36
You can jump to any specific commit by executing git checkout <commit>. The inset text below gives instructions for following along.
Let’s modify the second layout a bit. First, we’ll use LinearLayout instead of RelativeLayout. Second, we’ll introduce a new view that’s not present in the first layout. Finally, we’ll rearrange the views a bit.
<LinearLayout
    xmlns:android="http://schemas.android.com/apk/res/android"
    android:id="@+id/scene"
    android:layout_width="match_parent"
    android:layout_height="match_parent"
    android:orientation="vertical"
    android:gravity="center_horizontal">
    <TextView
        android:id="@+id/textView"
        android:text="@string/hello_world"
        android:layout_weight="1"
        android:layout_width="wrap_content"
        android:layout_height="wrap_content" />
    <TextView
        android:text="@string/hello_world"
        android:layout_weight="1"
        android:layout_width="wrap_content"
        android:layout_height="wrap_content" />
    <Button
        android:id="@+id/goButton"
        android:text="@string/button_go"
        android:layout_width="wrap_content"
        android:layout_height="wrap_content" />
</LinearLayout>
We are now at commit “1e7c5be modified layout for scene 2”. To switch to it, run
git checkout 1e7c5bein the command line.
The transition still works, but now we see how a view that didn’t exist in the first scene comes on the screen: it fades in after the button and text view move.
Let’s take a closer look at the AutoTransition. Turns out, it’s just a subclass of TransitionSet that defines itself as a sequence of fading out, changing bounds, then fading in.
Note that the second transition in AutoTransition is changing bounds. So far, we’ve only seen the button and text view change position. What would happen if we changed the dimensions of our views?
Add the layout_weight attribute to the button to see the effect:
    <Button
        android:id="@+id/goButton"
        android:text="@string/button_go"
        android:layout_weight="1"
        android:layout_width="wrap_content"
        android:layout_height="wrap_content" />
Now the button changes both the position and dimensions during the transition.
Jump to “added layout_weight to button”:
git checkout 092ebe0
Let’s now make one more change, changing a view from a Button to an ImageView between scenes:
    <ImageView
        android:id="@+id/goButton"
        <del>android:text="@string/button_go"</del>
        <del>android:layout_weight="1"</del>
        android:src="@drawable/bnr_hat"
        android:layout_width="wrap_content"
        android:layout_height="wrap_content" />
Jump to “example of transitioning from Button to ImageView”:
git checkout 6b4629c
The transition from Button to ImageView:
![]()
If you watch the video carefully, you’ll notice that first the button gets replaced by a cropped image view, which then gradually moves to its final position while simultaneously changing its size.
If we change nesting of the views—for example, by wrapping the goButton inside another LinearLayout—the change bounds transition doesn’t happen anymore. The transition manager expects the view with the same id to appear at the same level in the scene layout as before.
    <LinearLayout
        android:layout_width="match_parent"
        android:layout_height="wrap_content">
        <ImageView
            android:src="@drawable/bnr_hat"
            android:layout_width="wrap_content"
            android:layout_height="wrap_content" />
        <Button
            android:id="@+id/goButton"
            android:text="@string/button_go"
            android:layout_width="wrap_content"
            android:layout_height="wrap_content" />
    </LinearLayout>
Jump to “example of change bounds not working when changing hierarchy”:
git checkout 2b000b3
It still doesn’t work if we wrap the button in a LinearLayout in the first scene. To get it working again, we need to give the LinearLayouts the same id.
Here are the two versions:
![]()
![]()
Jump to “restore transition by adding LinearLayout with id”:
git checkout 34e0f8f
In the next post, we’ll continue on with our exploration and learn how to control transitions and how to load them from XML files.
Introduction When computer programming was young, code was punched into cards. That is, holes were punched into a piece of cardboard in a format...

Jetpack Compose is a declarative framework for building native Android UI recommended by Google. To simplify and accelerate UI development, the framework turns the...

Big Nerd Ranch is chock-full of incredibly talented people. Today, we’re starting a series, Tell Our BNR Story, where folks within our industry share...