From Punched Cards to Prompts
AndroidIntroduction When computer programming was young, code was punched into cards. That is, holes were punched into a piece of cardboard in a format...
If you’ve ever written an Android application, then you’ve likely used a third-party library in the process. The library may even have been open-source, so that the community can view, copy and modify the code. However, the creators always retain certain rights over their project, and the form in which the authors express these rights is called a software license.
If you’re interested in learning more about the specifics of software licensing, my fellow Nerd Jeremy Sherman has written an excellent blog post on the topic. And if you’re searching specifically for Android-related licensing information, then you should check out the official documentation about licenses on the Android Open Source Project. For this post, however, we will focus on the implementation details of an easy way to include a licenses dialog inside your Android application.
In most popular apps, there is a section (usually hidden deep in nested menu selections) that will have some text along the lines of “Licenses,” “Legal,” “Third-Party Notices” or any one of the infinite combinations of such phrases. Every application has its own unique spin on the wording, and the implementation of what occurs when actually clicked also differs wildly.
The simplest way to accomplish this is to list your third-party licenses on a web page, and open the license page URL with an implicit intent. Here, the Nest app has followed this pattern:

And here’s Google Wallet starting a completely new Activity (or maybe it’s a Fragment):
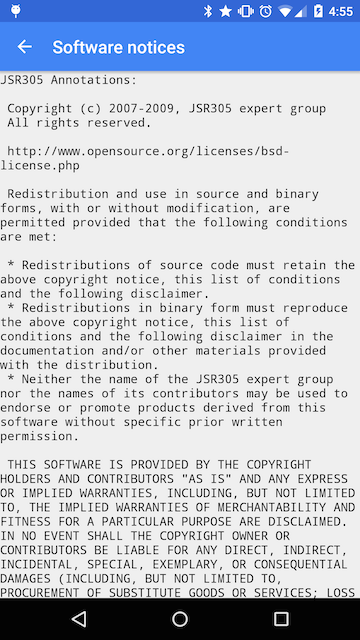
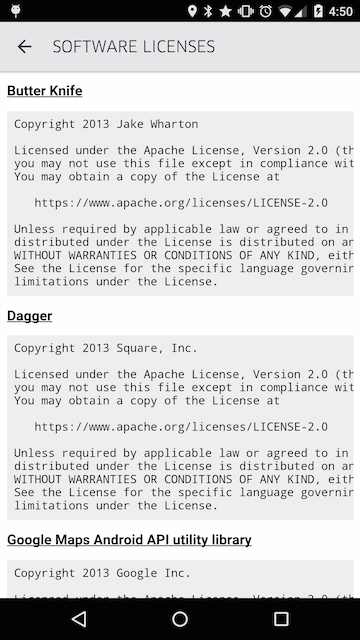
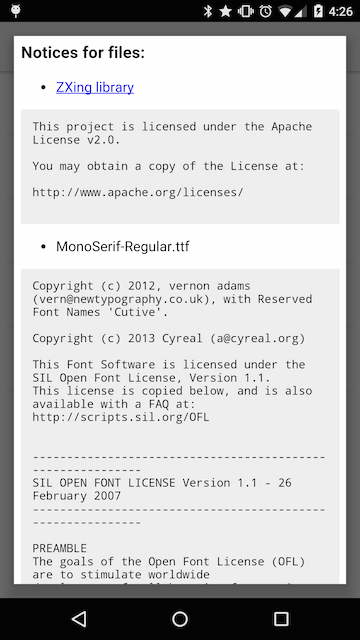
My favorite implementation for displaying software licenses is through the use of a dialog. Google Drive has a solid example:

Interestingly, even Google does not follow a standard: their implementation of this feature differs from app to app, leaving us without a Google-advocated “source of truth” for this particular pattern.
Together, we’re going to walk through the process of creating a license dialog similar to the one used in Google Drive. The process will include finding the license information for the libraries, building some HTML containing that information, shoving the HTML into a WebView, and then displaying the WebView through either an AlertDialog or DialogFragment (depending on personal preference). Ready?
Every non-trivial application utilizes third-party libraries from the open-source community, and finding the license for a particular library should be simple. The vast majority of open-source projects are hosted on GitHub, and the README.md file (shown as part of the landing page for the project) will usually have the license at the bottom. A great example is Square’s Picasso. Scroll to the bottom of the GitHub repository, and you’ll find a tidy “License” section that looks like this:
License
Copyright 2013 Square, Inc.
Licensed under the Apache License, Version 2.0 (the “License”);
you may not use this file except in compliance with the License.
You may obtain a copy of the License athttp://www.apache.org/licenses/LICENSE-2.0
Unless required by applicable law or agreed to in writing, software
distributed under the License is distributed on an “AS IS” BASIS,
WITHOUT WARRANTIES OR CONDITIONS OF ANY KIND, either express or implied.
See the License for the specific language governing permissions and
limitations under the License.
When open-source projects include a license, whether in the README.md or just as a LICENSE.txt, the ability to easily use and credit that library is much simpler. Instead of being forced to sleuth around and figure out which license a particular project is using, the developer finds the information easily. So, to all library-creators and open-source contributors, please make the licensing information for your projects readily available.
For future reference, if a project does not include any license information, then you cannot copy or modify it for any reason except personal use, unless you expressly receive the permission of its creators. Tread lightly.
Now that you know where to find the license information for an open-source project, the process of building a bit of HTML to display in a WebView may begin.
<html>
<head>
    <style>
        body {
        font-family: sans-serif;
        }
        pre {
        background-color: #eeeeee;
        padding: 1em;
        white-space: pre-wrap;
        }
    </style>
</head>
<body>

<h3>
    Apache License
    <br/>
    Version 2.0, January 2004
</h3>
<ul>
    <li>
        <b>Gson</b>
        <br/>
        Copyright 2008 Google, Inc.
    </li>
    <li>
        <b>OkHttp</b>
        <br/>
        Copyright 2014 Square, Inc.
    </li>
    <li>
        <b>Picasso</b>
        <br/>
        Copyright 2013 Square, Inc.
    </li>
    <li>
        <b>Retrofit</b>
        <br/>
        Copyright 2013 Square, Inc.
    </li>
</ul>
<pre>
    Licensed under the Apache License, Version 2.0 (the "License");
    you may not use this file except in compliance with the License.
    You may obtain a copy of the License at

        http://www.apache.org/licenses/LICENSE-2.0

    Unless required by applicable law or agreed to in writing, software
    distributed under the License is distributed on an "AS IS" BASIS,
    WITHOUT WARRANTIES OR CONDITIONS OF ANY KIND, either express or implied.
    See the License for the specific language governing permissions and
    limitations under the License.
</pre>

<h3>
    The MIT License (MIT)
</h3>
<ul>
    <li>
        <b>Material Dialogs</b>
        <br/>
        Copyright (c) 2015 Aidan Michael Follestad
    </li>
    <li>
        <b>Robolectric</b>
        <br/>
        Copyright (c) 2010 Xtreme Labs
        <br/>
        Copyright (c) 2010 Pivotal Labs
    </li>
    <li>
        <b>Mockito</b>
        <br/>
        Copyright (c) 2007 Mockito contributors
    </li>
</ul>
<pre>
Permission is hereby granted, free of charge, to any person obtaining a copy
of this software and associated documentation files (the "Software"), to deal
in the Software without restriction, including without limitation the rights
to use, copy, modify, merge, publish, distribute, sublicense, and/or sell
copies of the Software, and to permit persons to whom the Software is
furnished to do so, subject to the following conditions:

The above copyright notice and this permission notice shall be included in all
copies or substantial portions of the Software.

THE SOFTWARE IS PROVIDED "AS IS", WITHOUT WARRANTY OF ANY KIND, EXPRESS OR
IMPLIED, INCLUDING BUT NOT LIMITED TO THE WARRANTIES OF MERCHANTABILITY,
FITNESS FOR A PARTICULAR PURPOSE AND NONINFRINGEMENT. IN NO EVENT SHALL THE
AUTHORS OR COPYRIGHT HOLDERS BE LIABLE FOR ANY CLAIM, DAMAGES OR OTHER
LIABILITY, WHETHER IN AN ACTION OF CONTRACT, TORT OR OTHERWISE, ARISING FROM,
OUT OF OR IN CONNECTION WITH THE SOFTWARE OR THE USE OR OTHER DEALINGS IN THE
SOFTWARE.
</pre>

</body>
</html>
The header contains a bit of styling information, so that the HTML looks pretty. Customize this however you want, most likely by using brand colors and theming. What follows is the actual license information, which is broken up into multiple sections, one for each license type. This example just lists all the software and copyright information for a given license, then repeats the license text itself. Again, this can be uniquely tuned to whatever style you’d like; just make sure to reproduce the copyright information (year and company) and also the physical text of the license (Apache 2.0, MIT or whatever). The end result is a nice snippet of HTML that has all of the required license information for properly crediting open-source contributors.
The following XML layout for our dialog is succinct; it’s only a WebView that takes up the entire screen.
<?xml version="1.0" encoding="utf-8"?>
<WebView
    xmlns:android="http://schemas.android.com/apk/res/android"
    android:layout_width="match_parent"
    android:layout_height="match_parent"
    />
The HTML will be loaded into the WebView right before the dialog is created.
You now have the HTML containing the licensing information and the layout file for the WebView. The next step is to display them both in a dialog, so let’s first look at implementing an AlertDialog.
displayLicensesAlertDialog()private void displayLicensesAlertDialog() {
WebView view = (WebView) LayoutInflater.from(this).inflate(R.layout.dialog_licenses, null);
view.loadUrl("file:///android_asset/open_source_licenses.html");
mAlertDialog = new AlertDialog.Builder(this, R.style.Theme_AppCompat_Light_Dialog_Alert)
.setTitle(getString(R.string.action_licenses))
.setView(view)
.setPositiveButton(android.R.string.ok, null)
.show();
}
This method builds an AlertDialog and then shows it on the screen. The first step is to inflate the WebView from the layout that was defined in the previous section, and then the HTML from earlier is loaded into the newly inflated WebView. After that, it’s just a matter of building up the AlertDialog using the Builder pattern, making sure to set the AlertDialog’s View to be the WebView.
The final result will look like this:

While it may not be a work of art, at least credit is now being given for your usage of third-party open-source software.
In case you wanted to liberally use Fragments throughout the application, let’s talk about how a DialogFragment could be used instead of an AlertDialog. One immediate benefit is that the DialogFragment will be automatically added back to the Activity on rotation, whereas the AlertDialog will be destroyed and forgotten.
public class LicensesDialogFragment extends DialogFragment {

    public static LicensesDialogFragment newInstance() {
        return new LicensesDialogFragment();
    }

    @NonNull
    @Override
    public Dialog onCreateDialog(Bundle savedInstanceState) {
        WebView view = (WebView) LayoutInflater.from(getActivity()).inflate(R.layout.dialog_licenses, null);
        view.loadUrl("file:///android_asset/open_source_licenses.html");
        return new AlertDialog.Builder(getActivity(), R.style.Theme_AppCompat_Light_Dialog_Alert)
                .setTitle(getString(R.string.action_licenses))
                .setView(view)
                .setPositiveButton(android.R.string.ok, null)
                .create();
    }

}
Instead of building the AlertDialog in the Activity, a DialogFragment’s onCreateDialog method is used. Otherwise, the actual AlertDialog construction code is identical.
displayLicensesDialogFragment()private void displayLicensesDialogFragment() {
LicensesDialogFragment dialog = LicensesDialogFragment.newInstance();
dialog.show(getSupportFragmentManager(), "LicensesDialog");
}
Back in the Activity, this helper method takes care of actually showing the newly created DialogFragment, with the final result looking like this:

The DialogFragment is visually identical to the AlertDialog implementation, so which one you choose is a matter of personal preference.
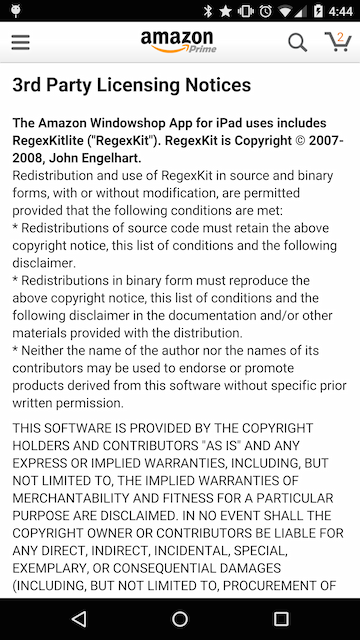
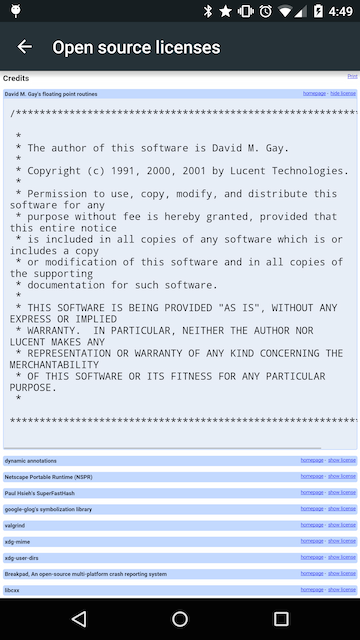
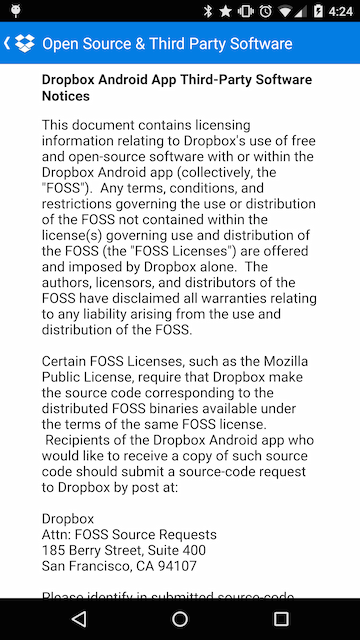
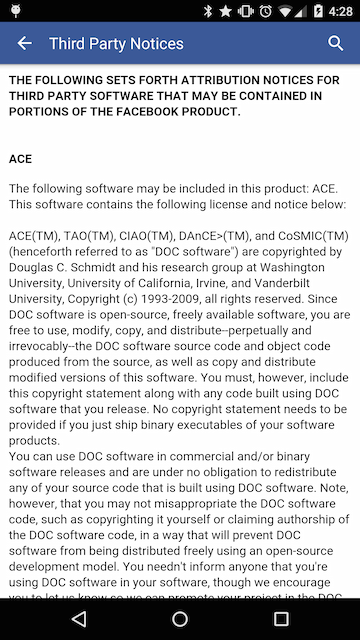
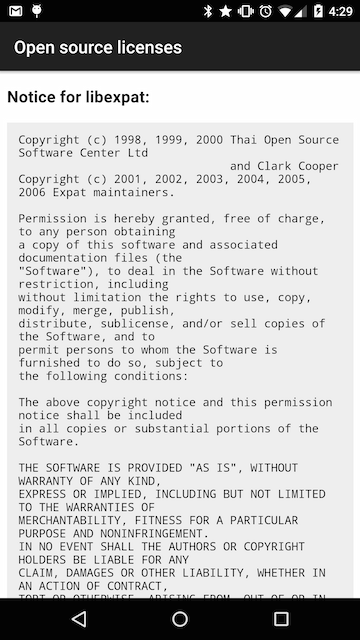
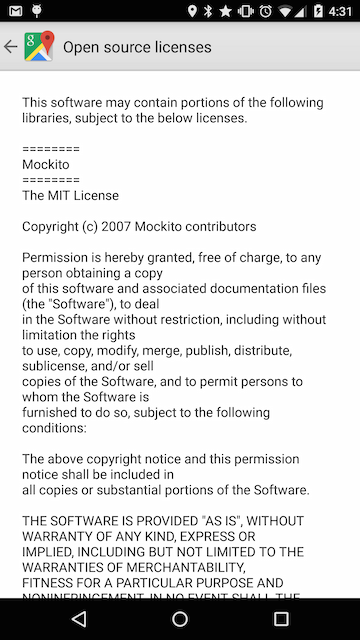
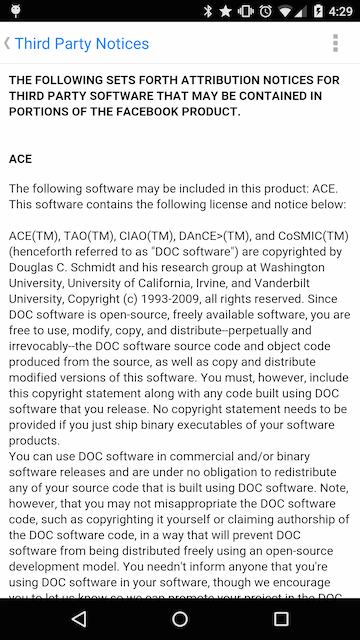
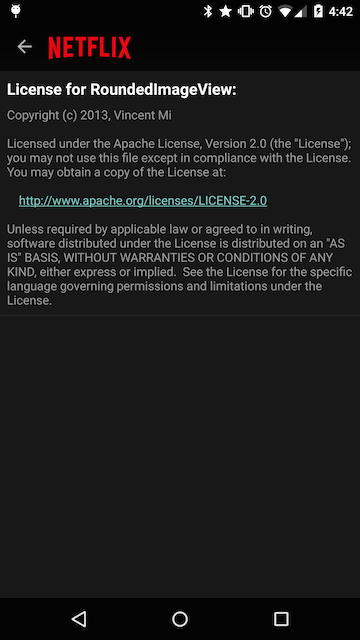
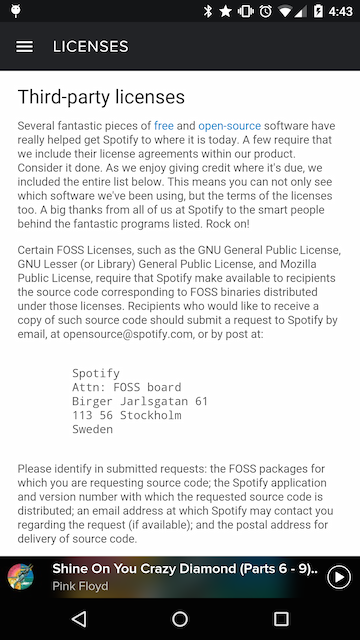
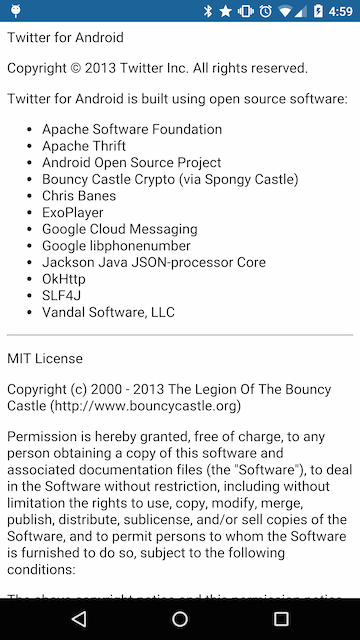
Below is a series of screenshots from popular apps that include a third-party open-source licenses dialog. I find particularly intriguing the wide variety in design, language choice and ease of access. This is clearly an area of Android development where no established design pattern has taken hold, as you can see.
I believe that every app that uses third-party libraries should have some version of these screens. Let’s give credit where credit is due!


Introduction When computer programming was young, code was punched into cards. That is, holes were punched into a piece of cardboard in a format...

Jetpack Compose is a declarative framework for building native Android UI recommended by Google. To simplify and accelerate UI development, the framework turns the...

Big Nerd Ranch is chock-full of incredibly talented people. Today, we’re starting a series, Tell Our BNR Story, where folks within our industry share...